Introduction
Enabling HTTPS for your website is essential to ensure secure communication between the server and the clients. This guide will show you how to force HTTPS using the .htaccess file.
Prerequisites
- Access to your cPanel account or FTP to edit the
.htaccessfile. - An SSL certificate installed on your server.
Steps to Enable HTTPS from .htaccess
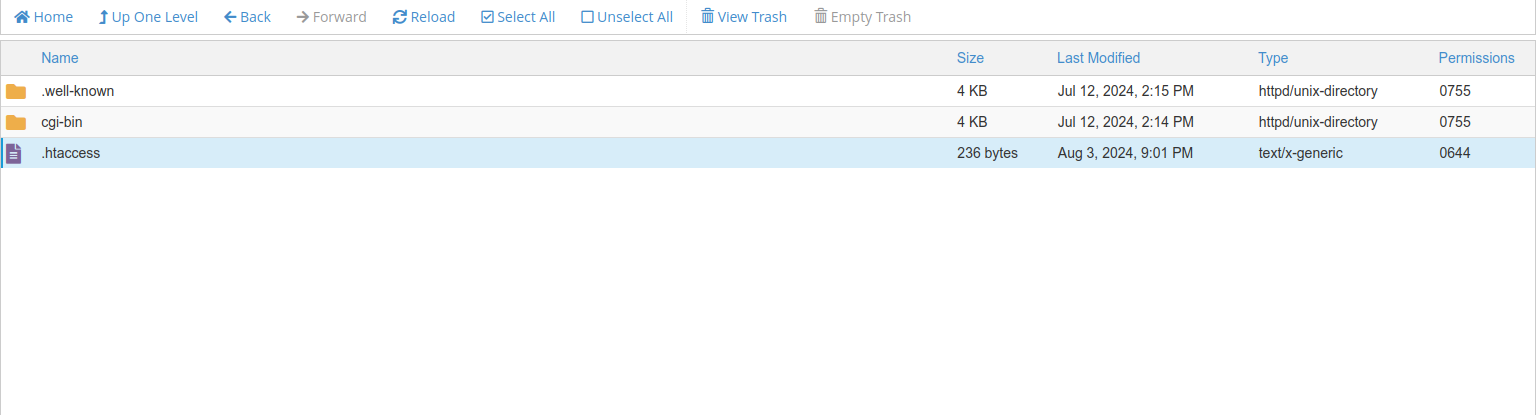
1. Access Your .htaccess File
- Via cPanel:
- Log in to your cPanel account.
- Navigate to the File Manager.
- Locate and edit the
.htaccessfile in the root directory of your website (usually thepublic_htmldirectory).
- Via FTP:
- Connect to your server using an FTP client.
- Download the
.htaccessfile from the root directory of your website. - Open it in a text editor.
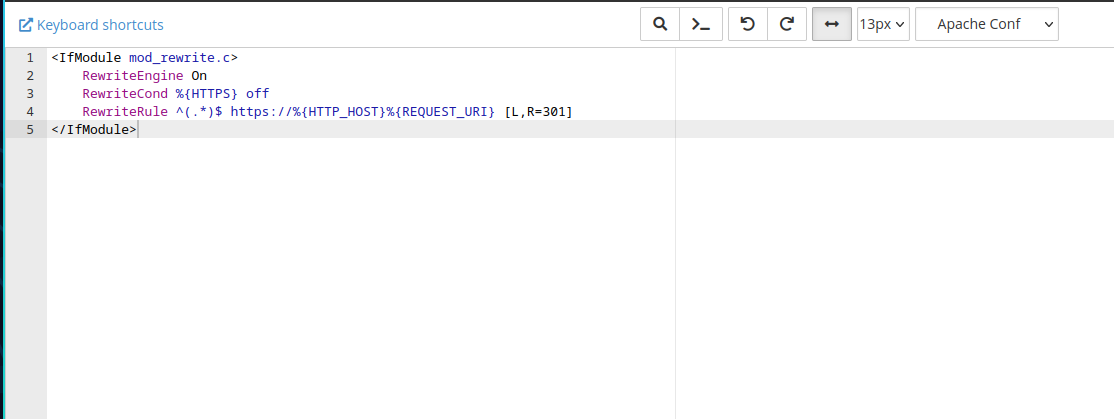
2. Add Rewrite Rules
Add the following code snippet to your .htaccess file to redirect all HTTP traffic to HTTPS:
| |
3. Save and Upload the .htaccess File
- If you edited the
.htaccessfile via cPanel, simply save the changes. - If you edited it locally via FTP, upload the modified
.htaccessfile back to your server.
4. Verify the Redirection
Visit your website using http:// and ensure it redirects to https://. You should see the padlock icon in the browser’s address bar, indicating a secure connection.
Troubleshooting
- Ensure
mod_rewriteis enabled: If the redirection is not working, make sure themod_rewritemodule is enabled on your server. - Check for syntax errors: Verify that there are no syntax errors in the
.htaccessfile, as they can cause server issues.
Conclusion
Forcing HTTPS using the .htaccess file is a simple yet effective way to secure your website. This redirection ensures that all traffic to your site is encrypted, providing better security for your users.